Getting started
Welcome to Loadero’s quickstart guide for configuring a test. The instructions below cover every mandatory step of creating and configuring a test so that you can launch a simple test run as soon as possible and see the result reports Loadero provides. You can follow the steps below to learn about the basics of test creation and later edit the test to fit your needs.
Prerequisites
- an account created in Loadero (if you don’t have one, make sure to sign up here)
- a project created in your Loadero account
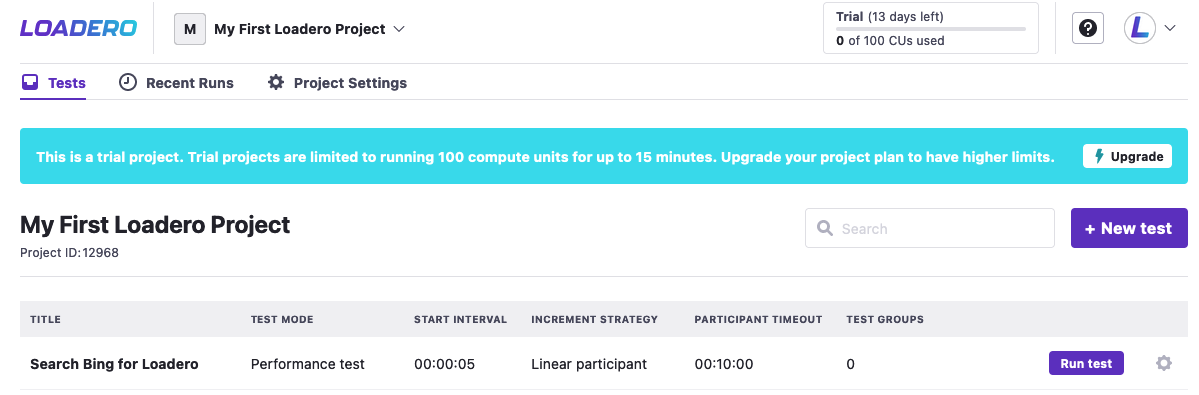
1. Configuring a new test
You should see this on your screen:
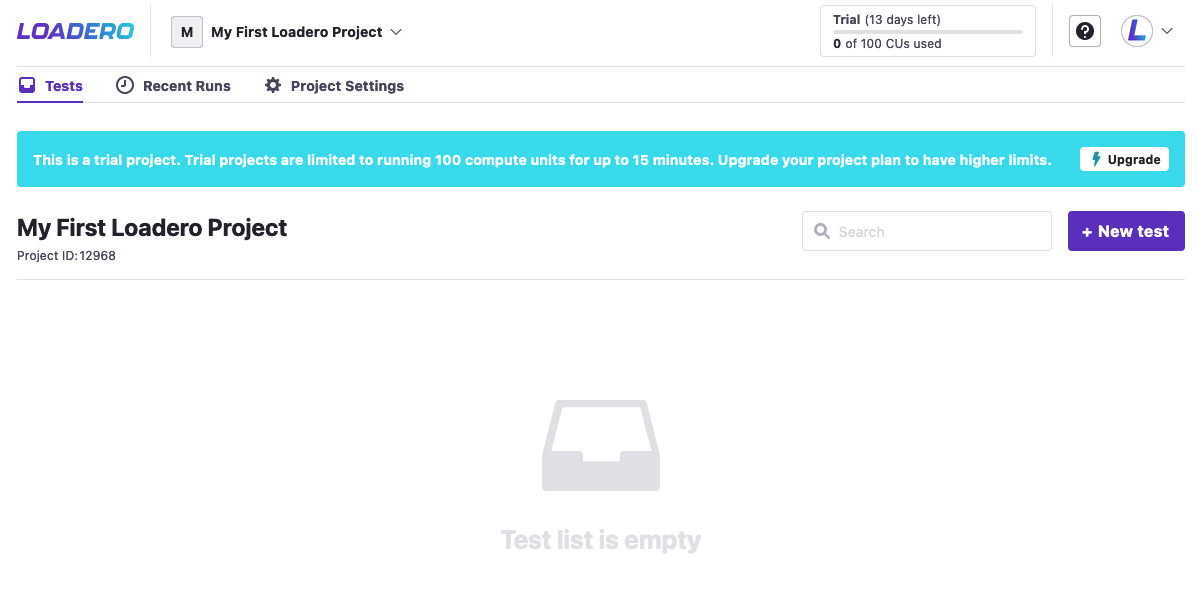
Click the “+ New test” button to begin. You should see this view on your screen:
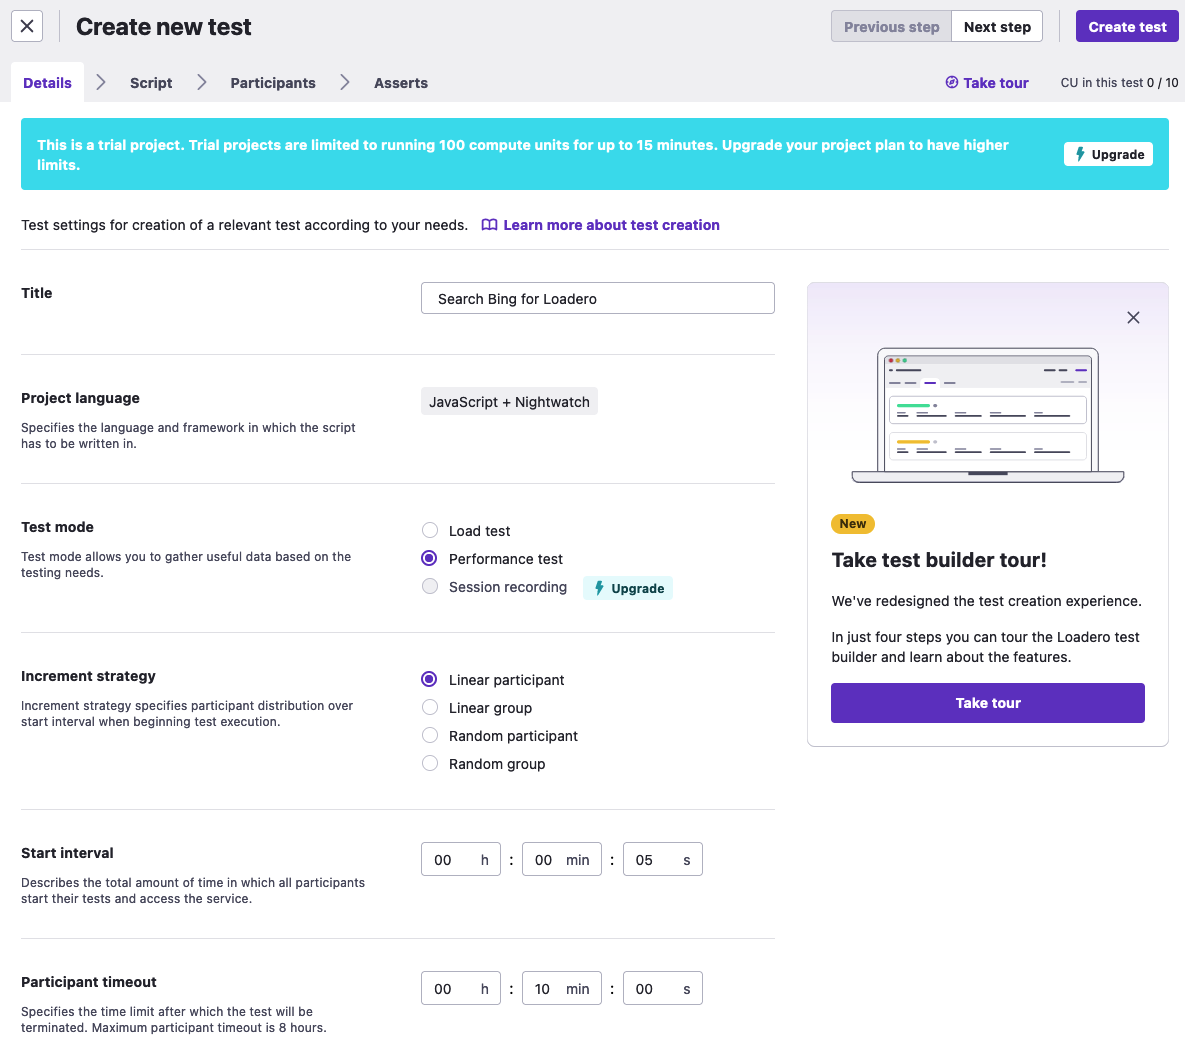
Set the following:
- Title - A title of your choice
- Test mode - Performance test
- Increment strategy - Linear participant
- Start interval - 5 seconds
- Participant timeout - 10 minutes
With these parameters your test will run in the mode which provides all the metrics possible, and all test participants will join with equal delays during the total time of 5 seconds. A participant will be forced to stop execution after 10 minutes of activity, if it will not have already finished execution earlier.
2. Adding a test script
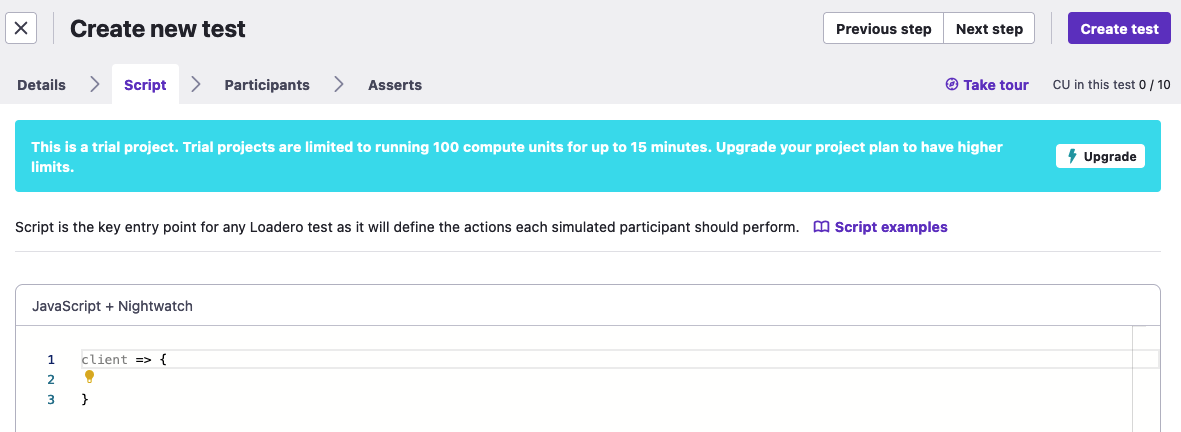
Test script is a frontend automation script that mocks participant actions using Selenium. You can take any example script from this page, copy it, and just paste it to the script field.
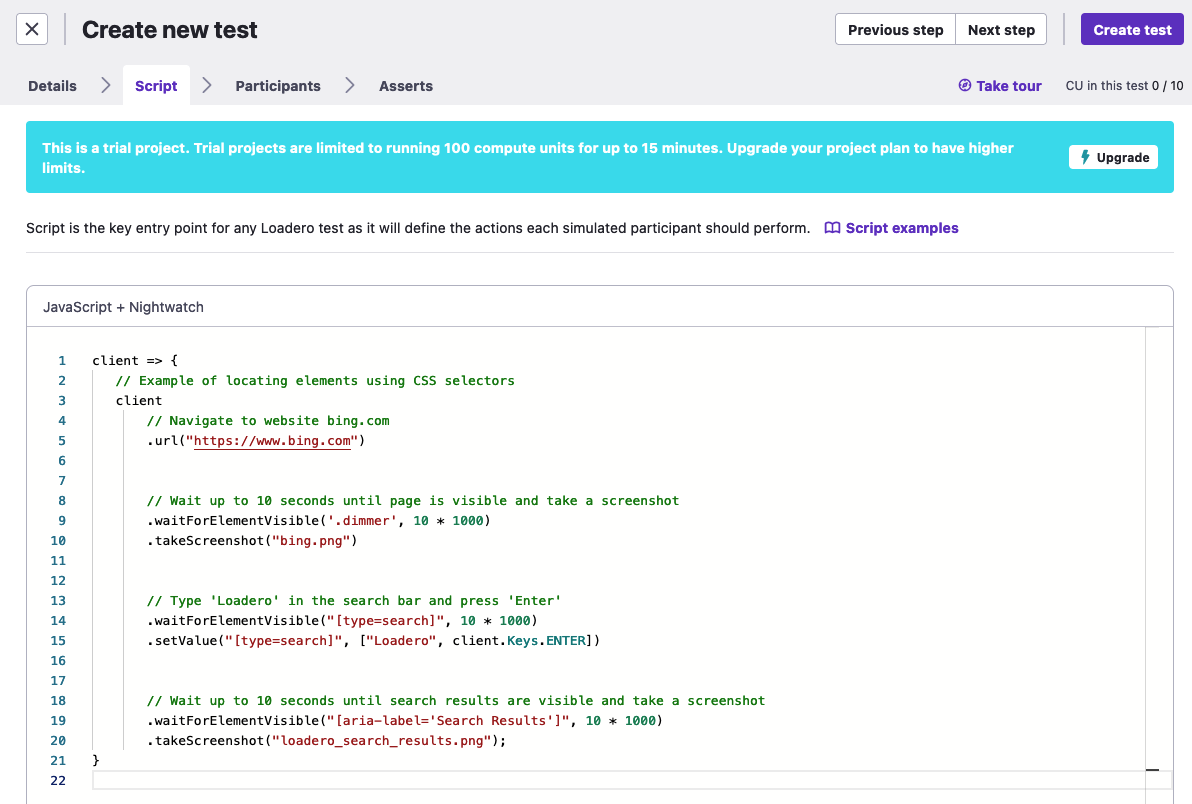
After you paste the script click the “Next step” button in the top right corner to proceed.
3. Adding test participants
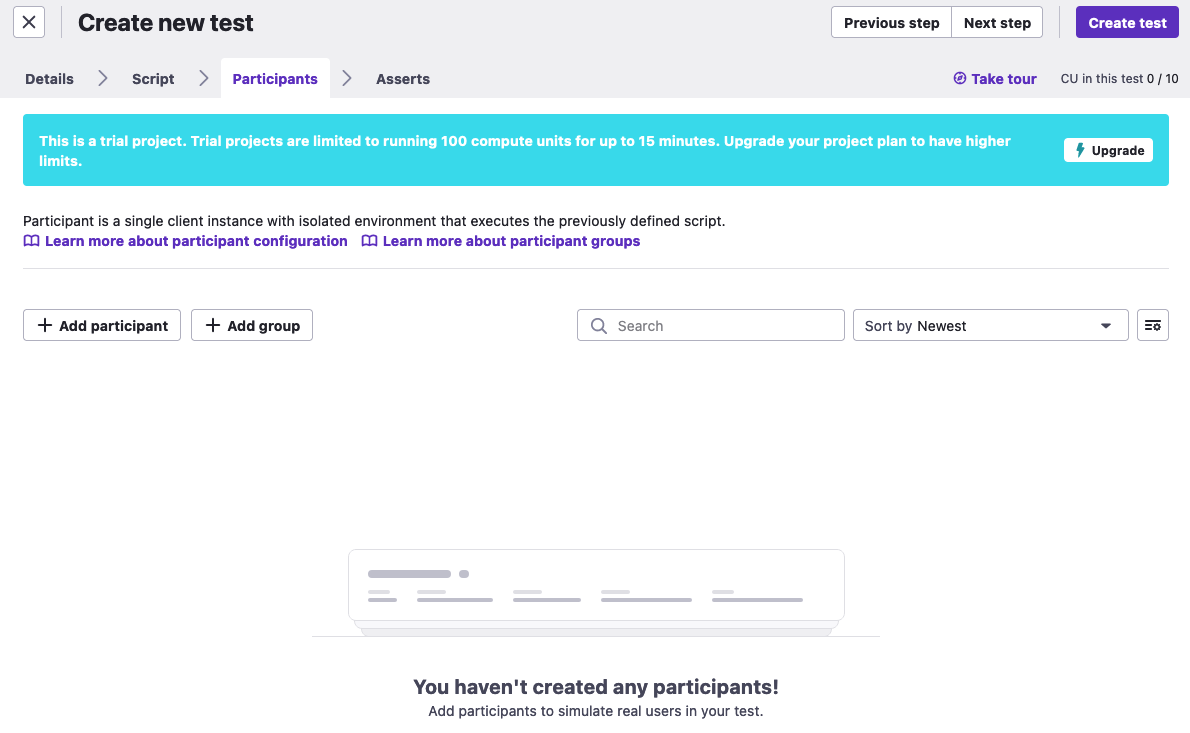
To run our test script we must add at least one participant. To start creating your first test participant click the “+ Add participant” button.
You should see this on the screen:
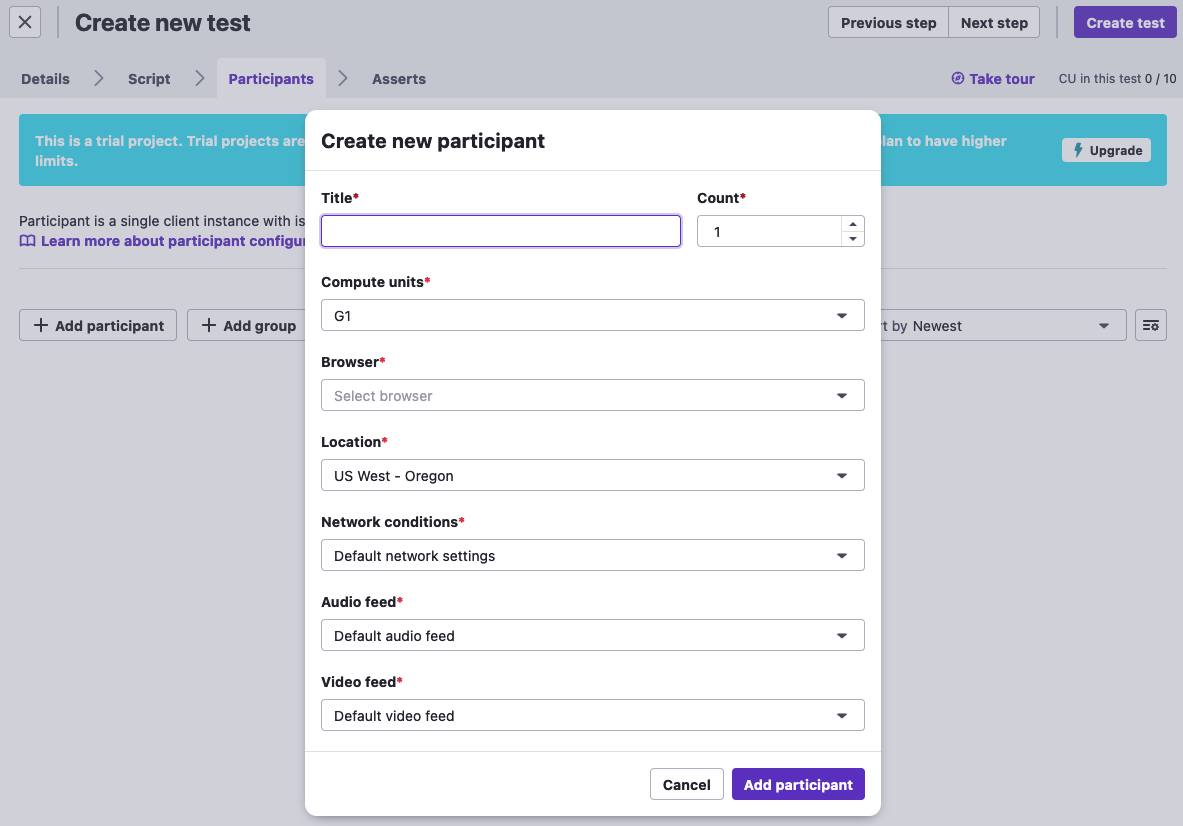
Set the following:
- Title - A title of your choice
- Count - 2
- Compute units -G2
- Browser - Latest Google Chrome
Leave the rest without changes.
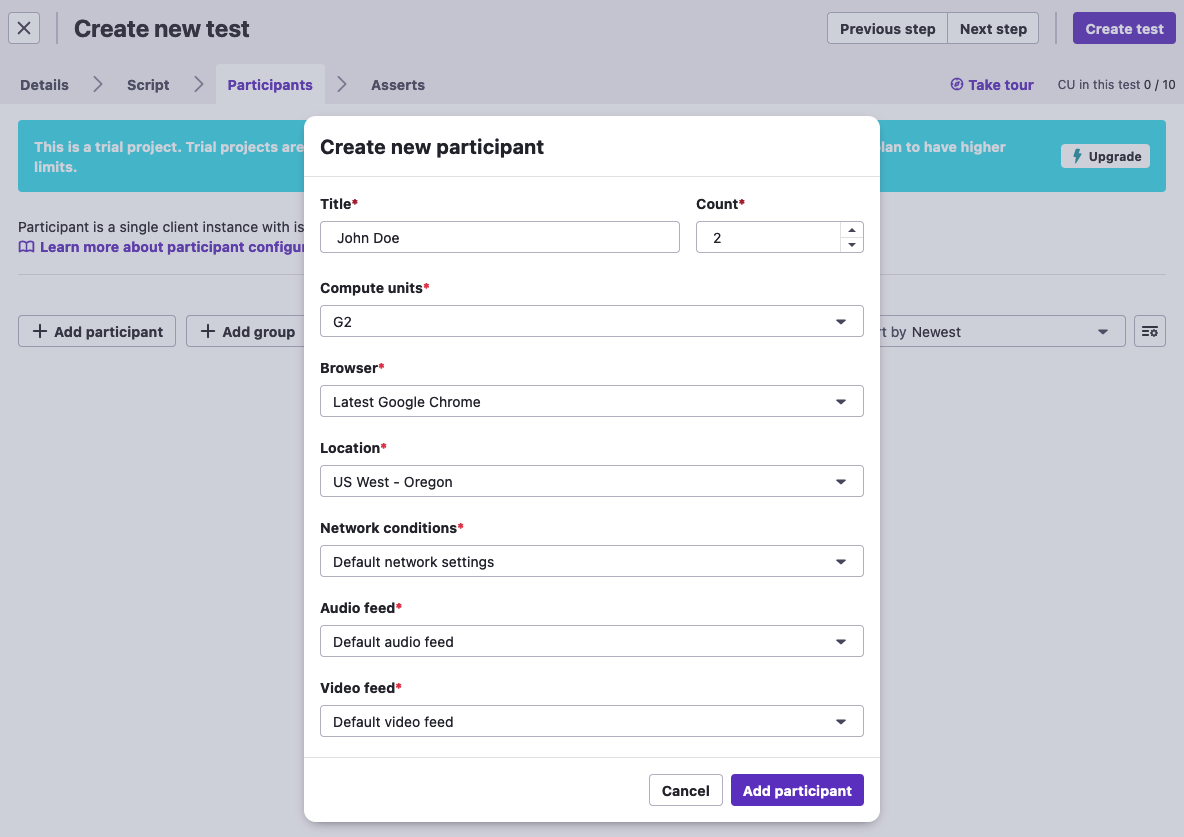
The test participant configuration is done, you can click the “Add participant” button. You will see this on your screen:
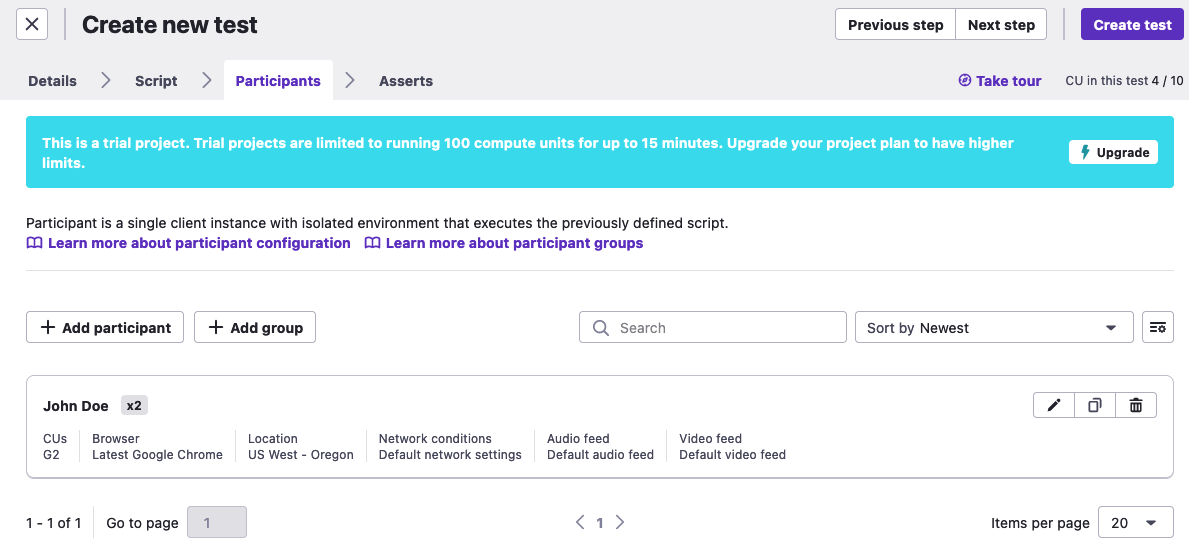
With these parameters, your test will run two Google Chrome browsers of the latest version, both will be launched in the data center located in US Oregon and will have the best internet connection possible.
Now we’re almost ready to run our test. Click “Create test”.
4. Running your test
If you followed the steps above you should be ready to launch your test. You should see something similar to this on your screen:
Now you can just click on the “Run test” button and let Loadero run the test you just configured.
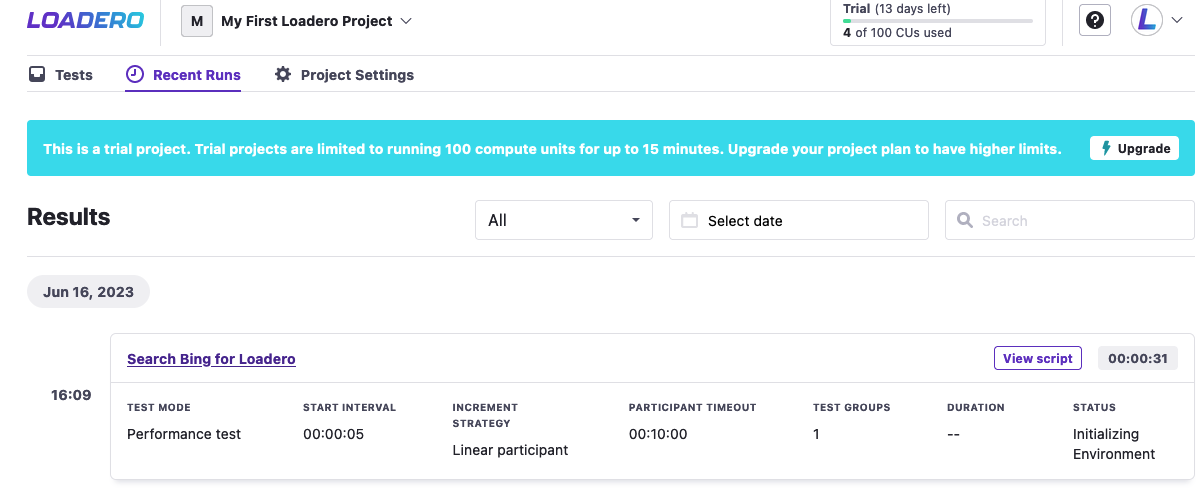
Your test run will go through multiple stages after you launch it, you can see its current status in the “Recent runs” tab. Make sure to let it finish naturally without stopping it to explore the full results report Loadero will provide. Once the test run is finished the “View results” button will appear, click it to access the test run results report.